I'm not one to make a step-by-step post.
I don't think I do anything spectacular or difficult enough to require step-by-step instructions...
But...
Sometimes I'll look at other peoples projects and think "that looks great, but how did they do that?"
and it turns out to be super easy-peasy.
So I decided that I LOVE this page so much that I would include a step-by-step of how I created the background.

For those of you who thought it was easy-peasy even before I showed you the steps: "You were correct"!

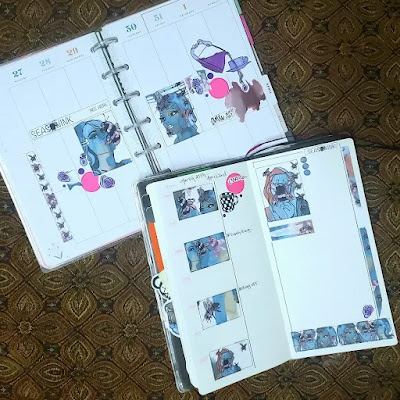
Journaling: "When I forget what Happy is... You remind me".
As a sufferer of depression sometimes I forget, but my husband always reminds me.
As a sufferer of depression sometimes I forget, but my husband always reminds me.
He is "my happy"
Inspired by @GetMessyArtJournal's
#SeasonOfHappy "
Inspired by @GetMessyArtJournal's
#SeasonOfHappy "
For those of you who thought it was easy-peasy even before I showed you the steps: "You were correct"!
For those of you who were wondering how to make this... "You're welcome"!
A couple of things I wanted to point out first:
1. I didn't spray directly in my art journal JIC I made a mistake.
I didn't want to ruin the art journal or, at the very least, have to rip out any of the pages so I
just cut a piece of computer paper to fit my journal, which is basically the same kind of paper my
journal is made of... nothing fancy, just a Target Dollar Spot Journal...
2. One of my craft supplies is NOT a craft supply at all.
The heart is the top cover of the inside of a small heart shaped box of Valentines chocolate I
received this past February 14th. I went to eat one of the candies and the heart fell out and floated
to the ground and my first thought was that I could "totally use that for an art project"! LOL!
Okay here goes:
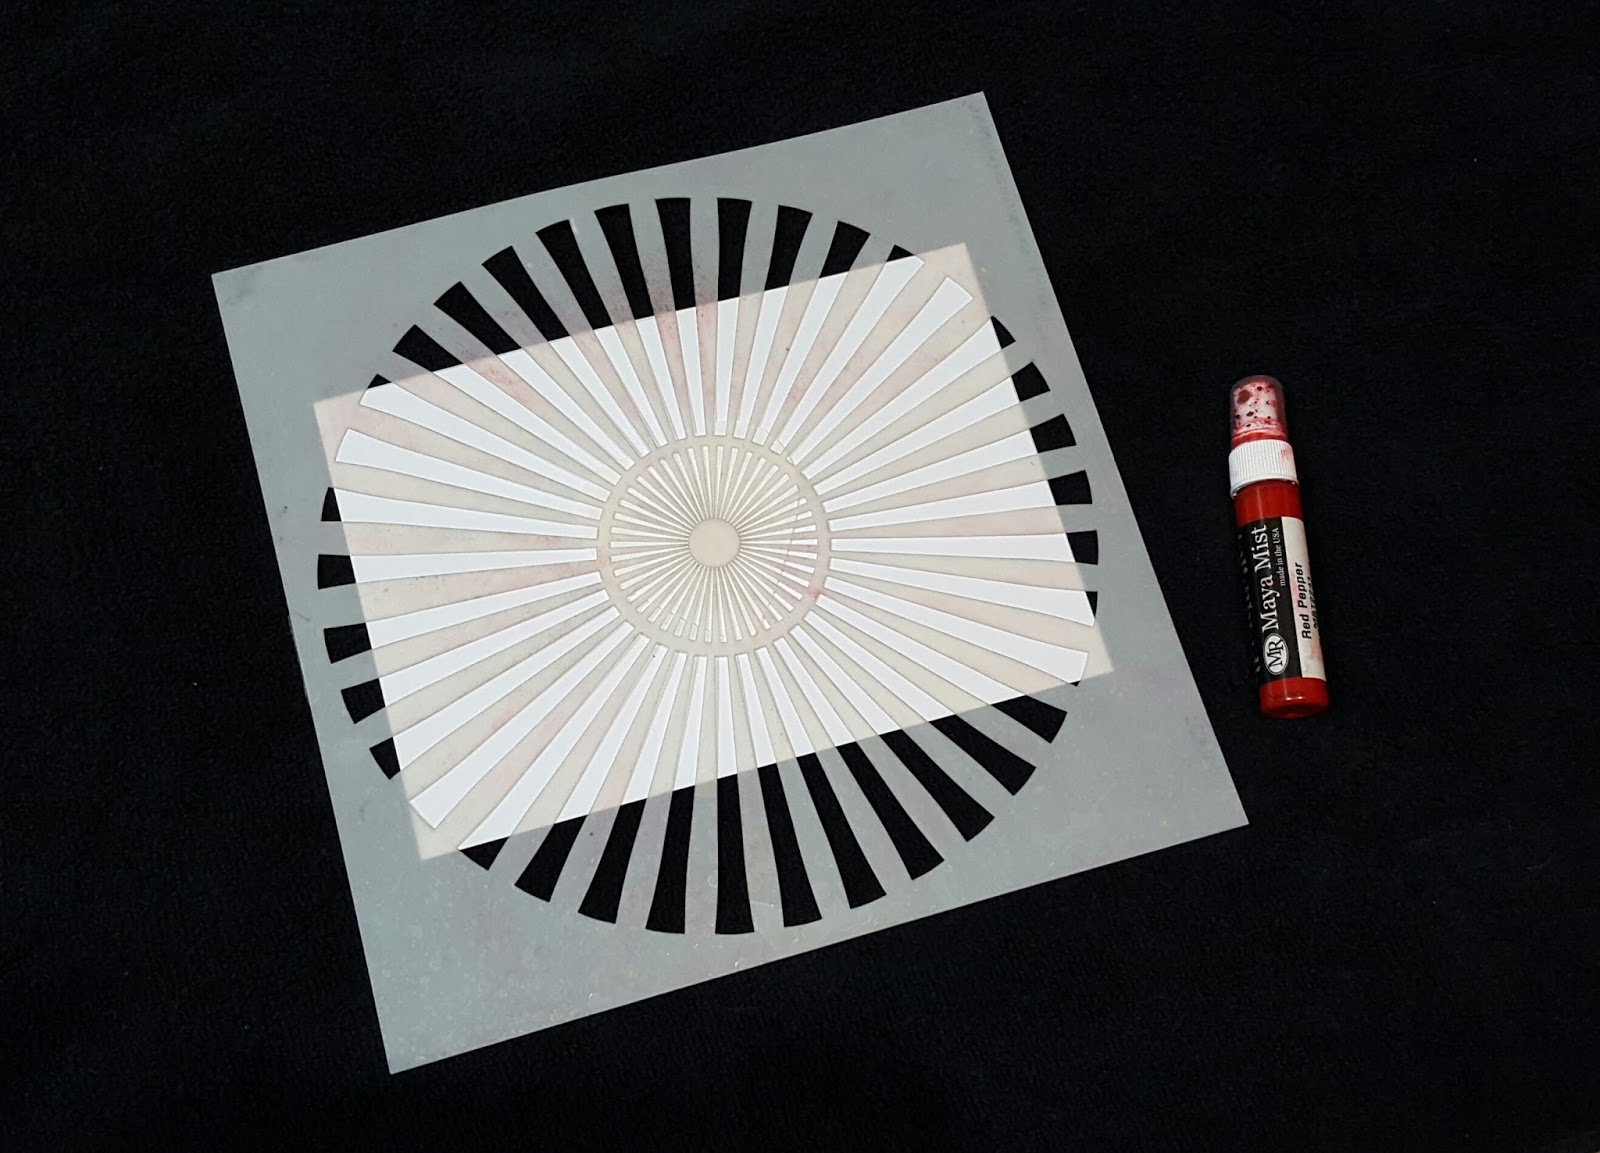
Step 1 - Gather all your supplies

(Left to Right):
Sunburst stencil
Heart "stencil"
Misting Spray - this one is Red Pepper from Maya Road
Paper cut-to-size
Black towel (so that any mist that doesn't wind up on the paper doesn't wind up on anything else!)
Step 2 - Layer
Black Towel
Paper cut-to-size
Heart "stencil" (hard to see but it's there!)
Sunburst stencil
Step 3 - Spray

As little or as much as you want...
This is my favorite part!
Step 4 and 5 - Let dry and Separate...

to reveal your pretty design!
Look at the cool design on the heart too...
I may use that for something else later!
Step 6 - Adhere to your art journal

And, if your like me, add some doodling!
Like I said "EASY-PEASY"!!!
and fun too!
And now that you have this cute little BG dress it up any way you like!
BTW - this page was inspired by the "Get Messy - Season of Happy".
I will be sharing more tomorrow during my normal "Get Messy" Monday reveal.
BTW - this page was inspired by the "Get Messy - Season of Happy".
I will be sharing more tomorrow during my normal "Get Messy" Monday reveal.


Oh wow!! This is a fabulous page!!! What a great picture and fabulous design!! Thanks for sharing your technique!!!
ReplyDeleteGorgeous! LOVING how you created that background!!!!!!!!!!!!!!!!!!
ReplyDeleteThis is so cool. Thanks for sharing :D
ReplyDeleteLove love love!
ReplyDelete